I write this under a fluffy blanket of snow after a week of back to back big snow storms totaling almost 13 inches. That’s not including the white stuff that has accumulated in the past couple of weeks prior. Whomever wished for snow, definitely got their wish. Anywho, why we’re here; these lovely, crunchy darlings. You know how you get a craving for something and you have to have it? Add to it that you really don’t want to leave your nice, warm house and you have a problem. This was my problem. I am very happy that I had everything on hand and the time to make them. Yeah, I know, two time-consuming recipes in a row, but they are so worth it.
These aren’t as time-consuming as I thought originally. There is this story my mom tell me of the one time she made homemade egg rolls. She said it took her hours of chopping, grating, cooking and rolling to make them. She said they were a lot of work and then my dad and I devoured them all in two minutes flat. She said it wasn’t worth it so that was that. Plus I think she was mad that she didn’t get any. Oops. Now when I make them I know better and save some for myself, lol. I also make A LOT. Enough to freeze and just be able to enjoy them later when I didn’t just spend an hour in the kitchen making them. I like that kind of cooking at times. There is some prep that needs to happen but just pace yourself and trust me, they are super yummy and healthy too!
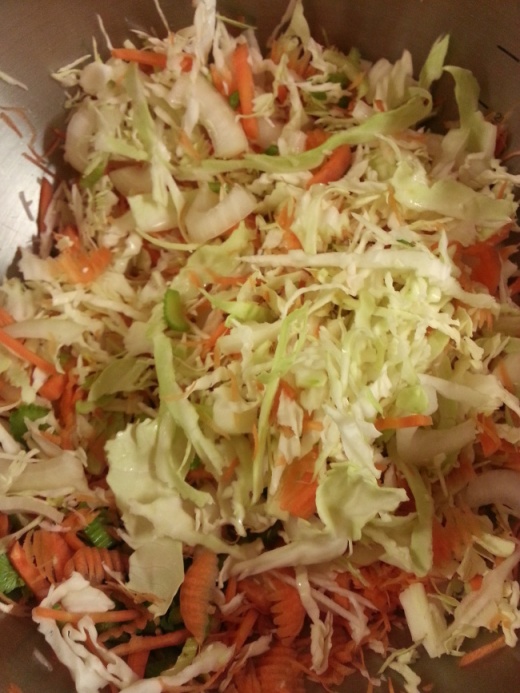
This is how fine I chopped my veggies. I used my mandolin which made things so much easier. I just laid the mandolin inside my big bowl and grated everything straight in. If you don’t have a mandolin, its going to take you some time chopping everything but not too long. Just remind yourself that you will be making a lot of these and it will make more than one meal. That usually helps me when I’m working on a big project.
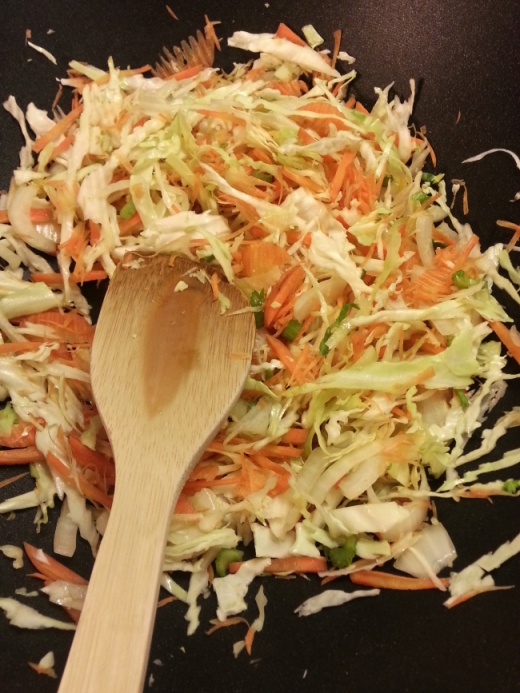
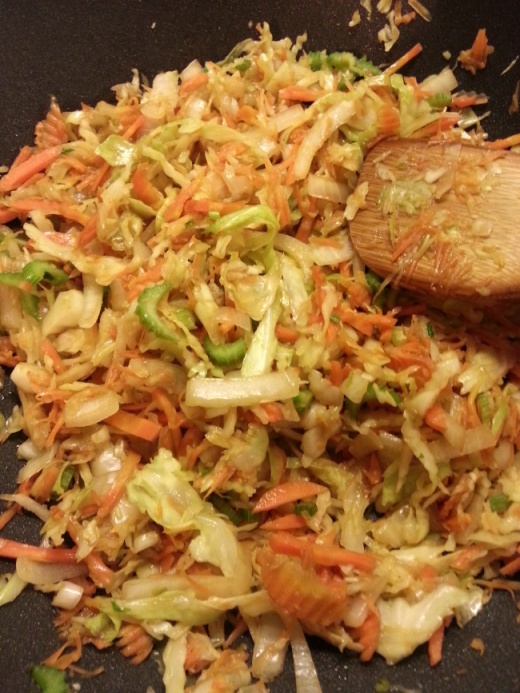
Time for some heat!
Perfect! Now for the cool down. Make sure you cool your filling before you start rolling your wrappers or they will get soggy or rip from the moisture.
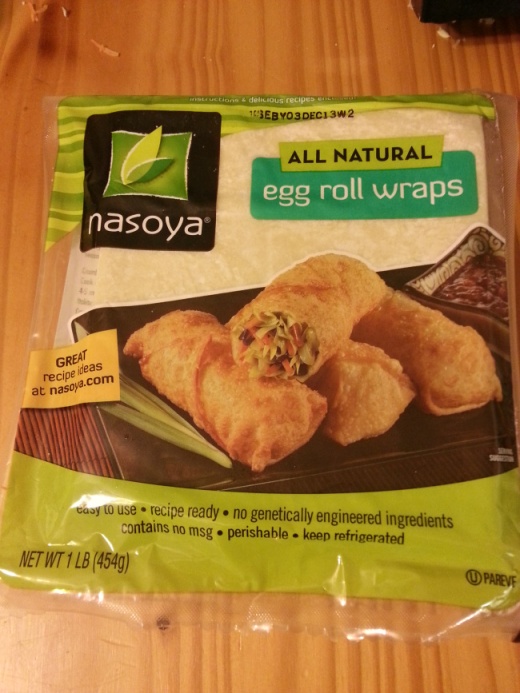
These are the wrappers I used. Next time I think I’m going to try the recipe from Golubka Kitchen listed here: http://golubkakitchen.com/2013/09/baked-veggie-spring-rolls.html. She gives a recipe for the wrappers that would be so helpful so I don’t need to go searching for the wrappers at the grocery store. Homemade is always better, in my opinion.
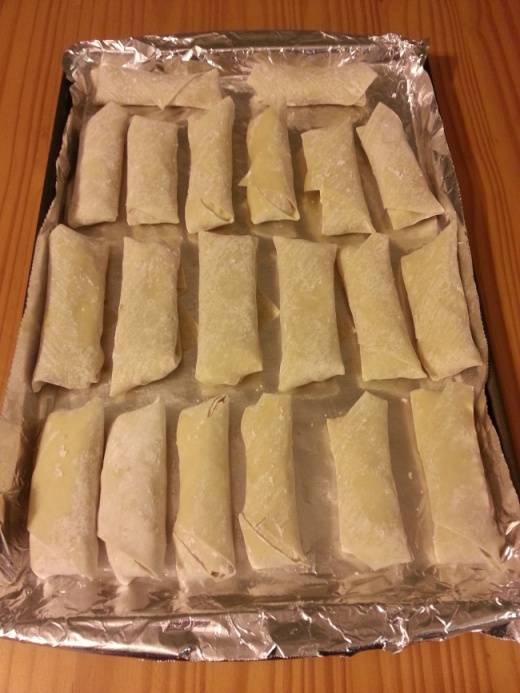
And here they are all ready for the oven (or freezer). Yum is in reach!
Trial and Error Tip: I’ve found that we lean toward more filling than the recommended 1 tablespoon. We thought they were a little too doughy to our liking. My husband called them “little sticks”. After tripling the filling, it was perfect. I think it just comes down to preference.
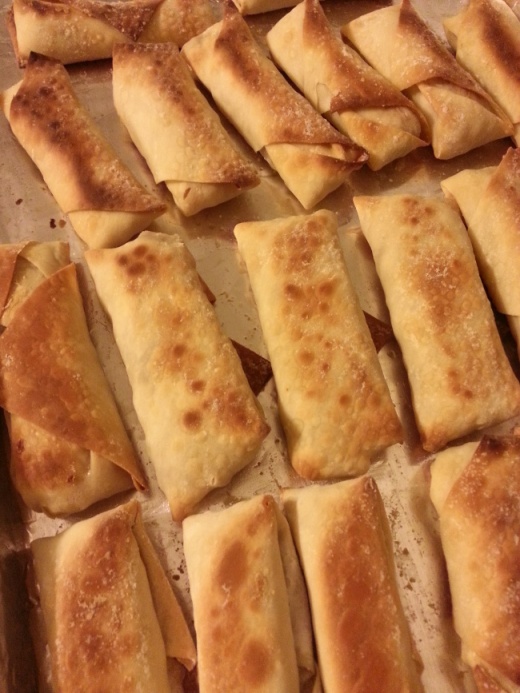
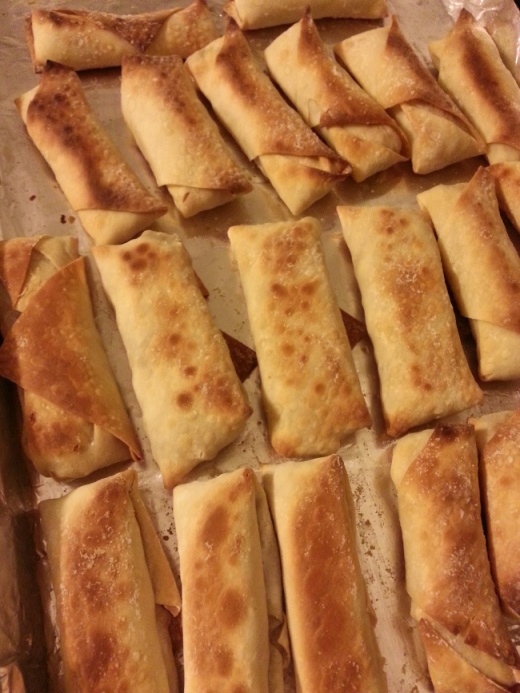
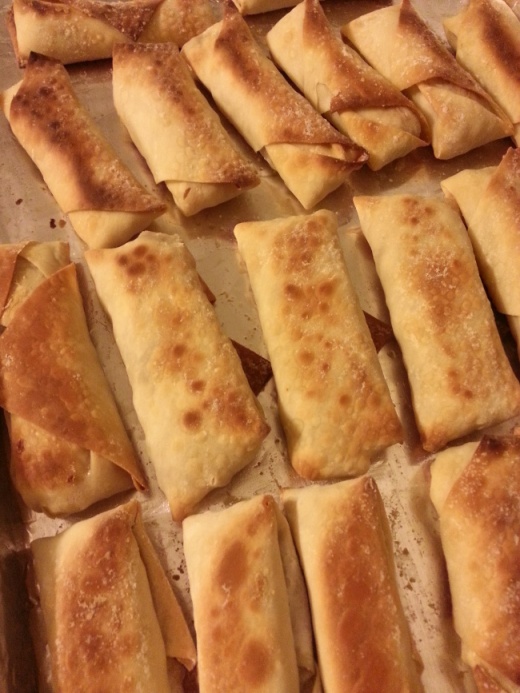
And here they are in all their golden glory! All crunchy and warm. Just waiting to be dipped into sauce and gobbled up. Have them accompany a quick stir fry for a weeknight dinner or just tuck into a plate of them and enjoy!
Baked Spring Rolls
Makes about 20 rolls
Modified from Nasoya Egg Roll package and
http://www.steamykitchen.com/22276-chinese-spring-rolls-with-chicken-recipe.html
- 1 Package of Spring Roll/Egg Roll Wrappers
- 1 tsp ginger, minced
- 2 cloves of garlic, minced
- 2 cups of shredded Cabbage
- 1 cup shredded carrots
- 1 medium onion, sliced and quartered
- 2 stalks celery, chopped into bite-sized pieces
- 2 tbsp oyster sauce
- 2 tbsp soy sauce
In a large bowl, combine cabbage, carrots, celery, and onions. Heat a wok or large skillet on medium. Add 1 tsp of canola oil to the pan with the garlic and ginger, cook for 30 seconds. Add the vegetable mixture to the pan and saute for 2-4 minutes until the veggies become soft. Add the oyster and soy sauces, stir to combine. Let this cool for 5 minutes or so until its cool to touch.
Prepare a baking sheet with either foil or parchment paper. Take out the wrappers a couple at a time, placing a damp towel over them as you work. Place the single sheet in a diamond in front of you. Place 1 tbsp (Spring roll) or 3 tbsp (Egg roll) at the bottom of the diamond and begin to roll up from the bottom, folding the sides in when you get to the center. It should look like an envelope at this point. Continue rolling until it completely closes. Try to keep things as tightly as possible without ripping the wrapper.
Bake at 375 degrees F for 10 minutes then flip them and bake for another 10 minutes. They should be nice, brown and crispy. Serve with your choice of sauces.
Tips:
***These are great to freeze and pull out when you get the craving for them. To freeze: After rolling all of your wrappers, put in the freezer in a single layer. Freeze for about 2 hours then place in a freezer safe container or zip-close plastic bag to store.
***They may take some getting use to rolling and the filling to wrapper ratio. Go by your preference. My family likes to lean towards more filling.
***Try making the filling on a separate day as the rolling. It makes it easier just to roll and bake sometimes.
Copyright: The Trial and Error Kitchen
